
Session Management
Session management is used to create, edit or delete the sessions. To create a session, you must be a Group Admin (role) and have access to the Group Admin features.
Create Session
To create new session, you need to follow below steps:
Click ‘Content’ in the Group Administrator tool bar and click (+) add session on your left had side
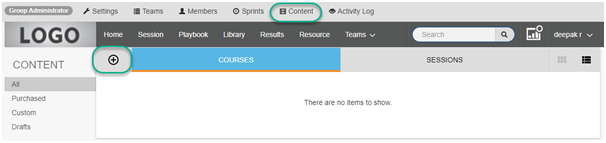
Select “New Session” from the list displayed

Enter the title of the session on the pop-up and click ‘GO’ button.

Each Session is broken down into three core components
- Session Information
- Learning Workflow
- Leader Guides
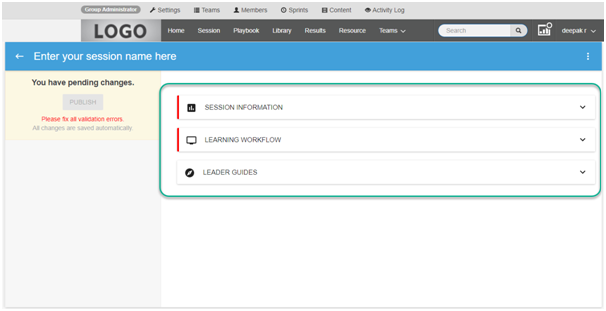
Note: The red marking denotes compulsory elements. You will not be able to Publish a session until all mandatory elements are completed (validated).
Session Information
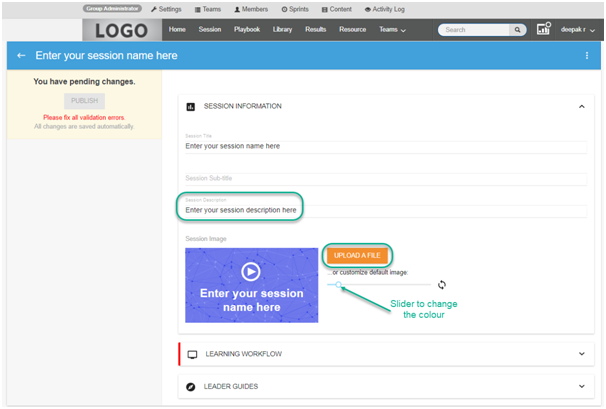
Session information is the high-level data associated with an individual session. Click the session information tab to add session tile, sub-tile and description.
You may upload an image specific to the session, or you can customise the default image using the colour slider.
Click “UPLOAD A FILE” button to upload new file or use “customise default image” slider to customise the default. Moving the slider will change the colour of the image.
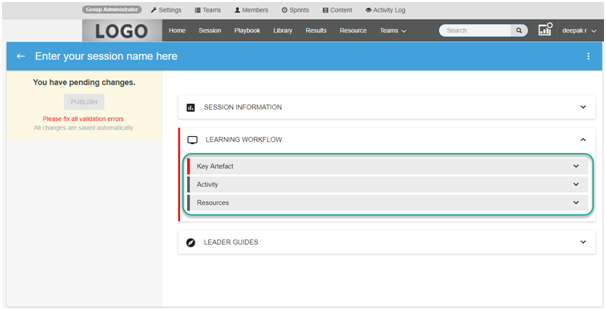
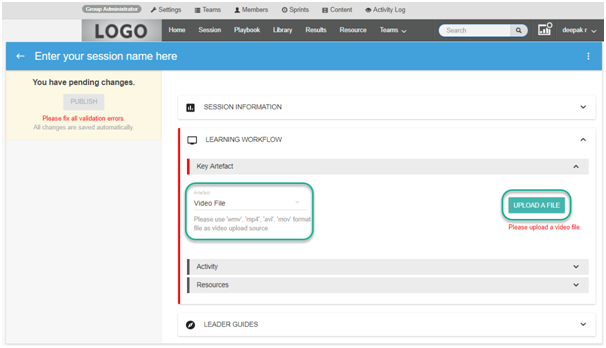
Learning Workflow
Learning Workflow is broken down into three core components.
- Key Artefacts
- Activity
- Resources
Key Artefacts
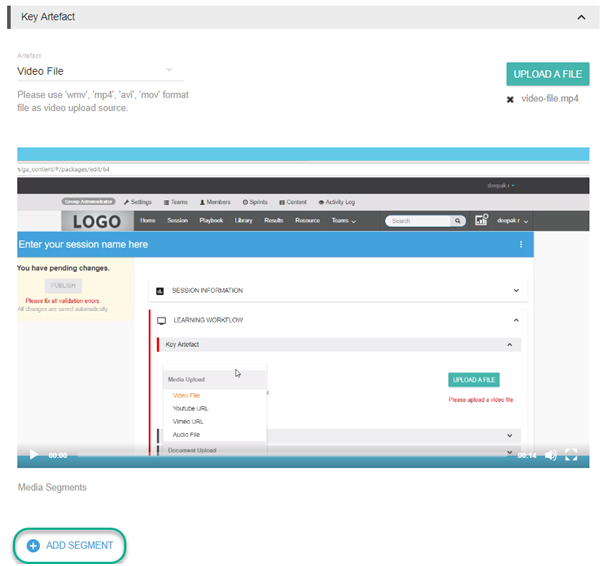
The key artefact is your core learning material, on which your session will be based.Click to select your artefact type then upload your file as per selection made. For Video File you can add segments as well.
If you select ‘Rich text’ you will be required to enter the text required (instead of uploading a file).
Slide Show requires an ODP file. If you have PPT, in most cases you can export it as ODP.
Segments
Segments provide a way to index the uploaded video/audio. Segments are only available on video/audio artefacts.
To add a segment, follow below steps:
Click “ADD SEGMENT” to add new segment. More than one segments can be added against an artefact.
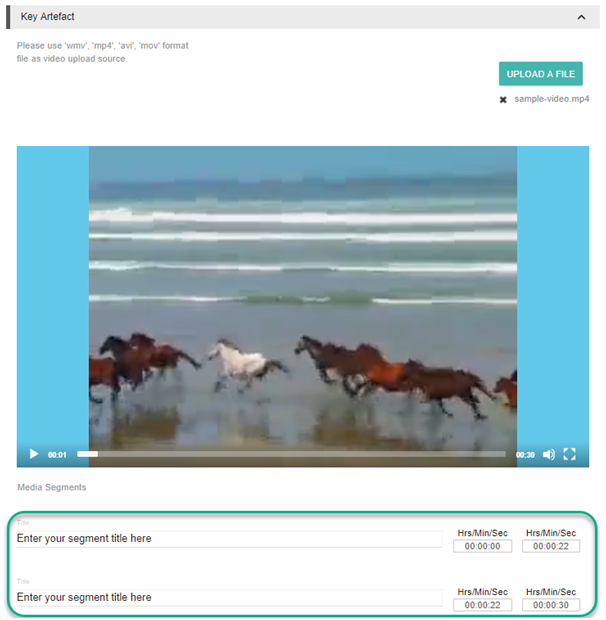
Click to add a “TITLE” of each segment. This will appear in the video index.
Click “Min/Sec” to select the start and end time for your segment in minutes and seconds. This time corresponds to the timeline of the video.
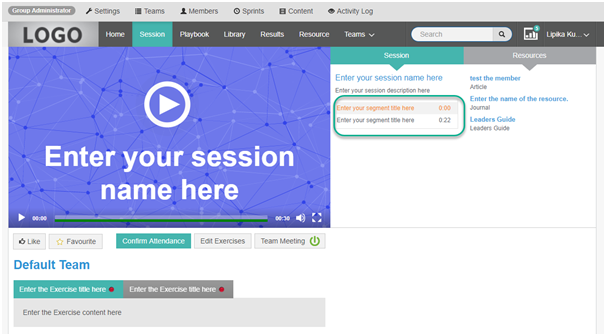
In session page, you can find the segments as below.
Note: Be careful to align your segments properly so that they don’t overlap or have gaps.
Activity
The activity is the action that you’d like the learner to take, relative to that session.
There are three options that you can select:
- None
- Exam
- Exercise
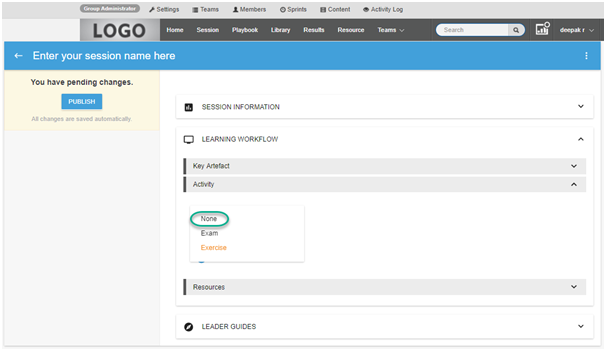
Selecting ‘None’ means there is not activity required for that session. All scoring will be based on completion of the Key Artefact component.
Exam
When ‘Exam’ is selected, opportunities to add questions are linked directly to media segments. For example, if a video is divided into 10 segments then there is the opportunity to add exam questions at the end of each of these segments. If the key artefact was not a video and segments were not allowed, then this is considered as only one segment. Segments do not require a question to be added. For more information on adding Exams, please refer to article "Creating Exams".
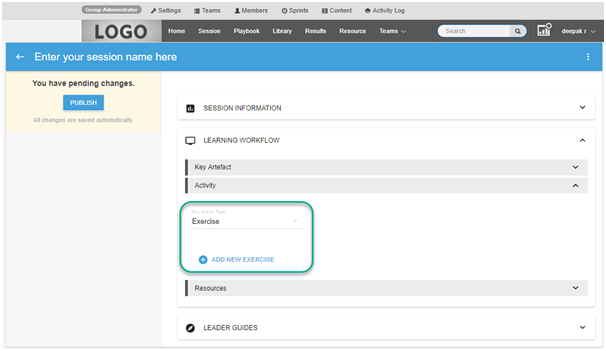
Exercise
An exercise is a task that is required for the participants to complete at the end of the segment/session. Learners are obliged to complete the exercise with an entry into the Answer component of the Exercise.
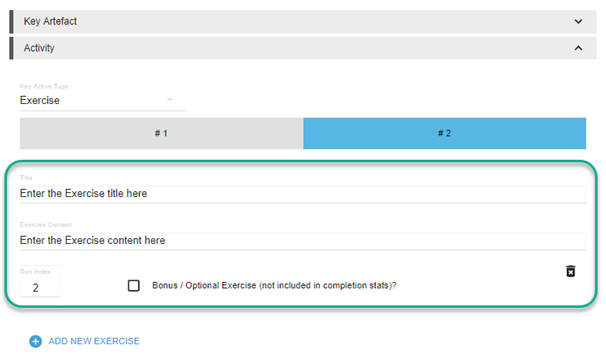
Click ‘Add New Exercise’ button to add a new exercise.
Insert the “Title” and “Exercise Content” of the exercise. When more than one exercise exists, the sort index denotes the order of the exercise. Bonus / Optional Exercise denotes whether an exercise will be tracked in general reporting and discipline score, or not. Leaving the box unchecked will mean the activity is included in reporting.
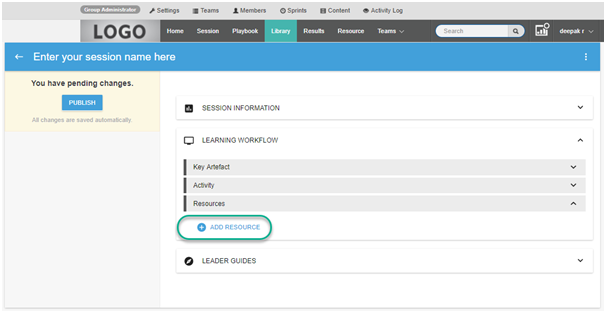
Resources
Resources can be added for a session. They are also available in the resource library. Click on resources tab and select ‘Add Resource’ to add a Resource.
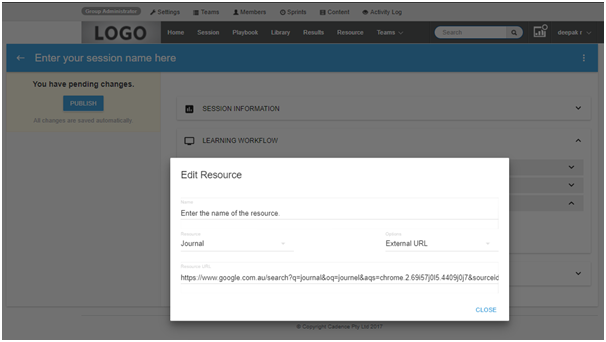
On the popup, enter the “Name” of the resource. Select the resource type and option like URL or file via drop-down arrow.Upload a file or add a link as required.
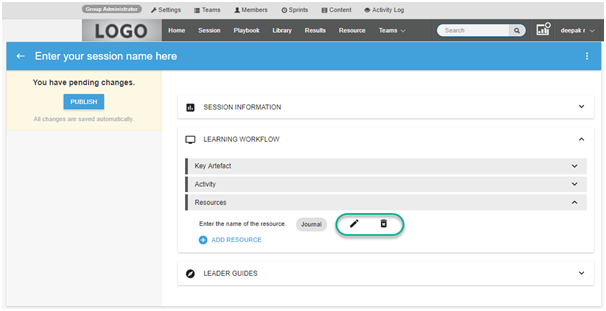
You can edit or delete a resource after creating it.
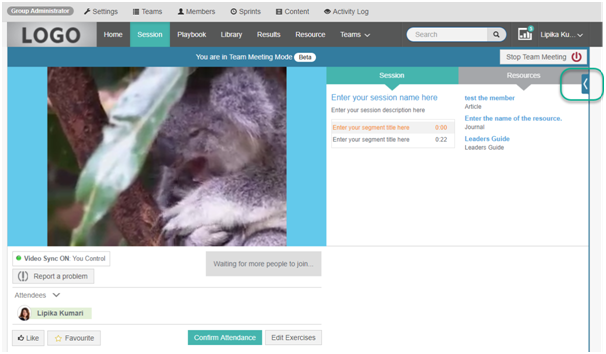
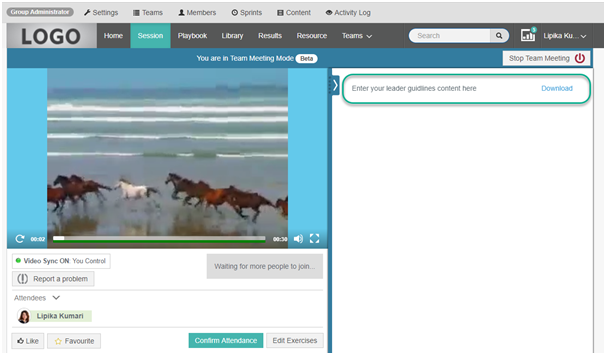
Leader Guides
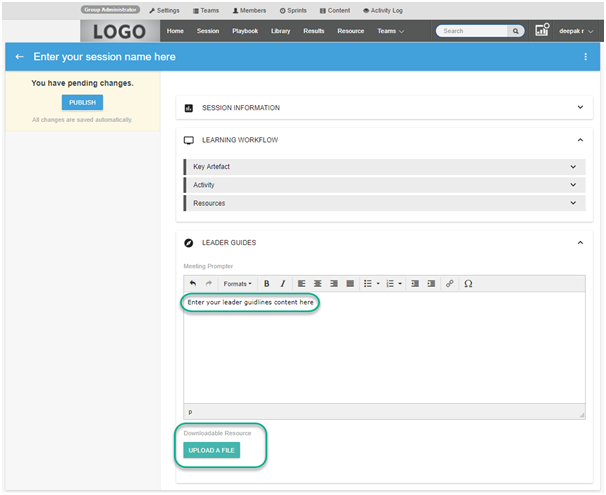
While Team meeting mode you can view the Meeting Prompter Leader Guides as below and click ‘Download’ to save the downloadable content.
Publishing
Publishing is how you take a session or course from a Draft to finished item, that can be scheduled. For more information on Publishing, please refer to article "Publishing" to publishing a session.
Editing
Once the session is created and published it can be modified as well. For more information on this, please refer to article "Editing" to edit a Session.